
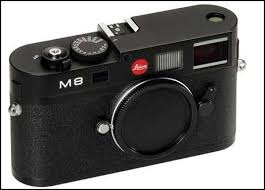
Leica M8/8.2
IR Filter
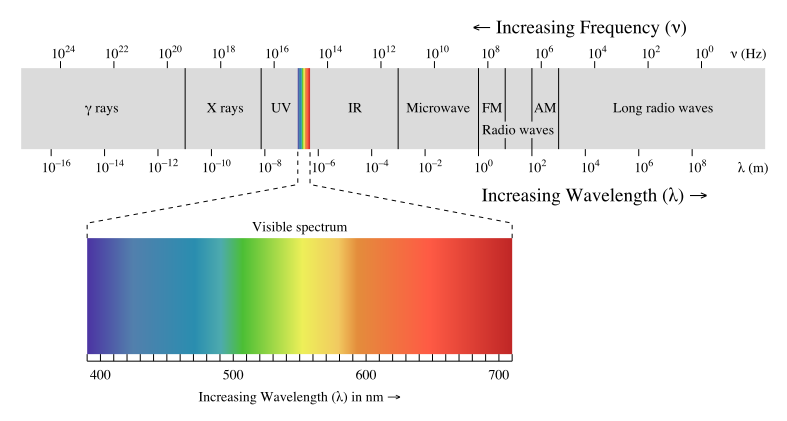
Electromagnetic spectrum
Leica M8/8.2
M8: https://www.l-camera-forum.com/leica-wiki.en/index.php/File:M8-top.jpg
M8.2: https://www.l-camera-forum.com/leica-wiki.en/index.php/File:M82-top.jpg
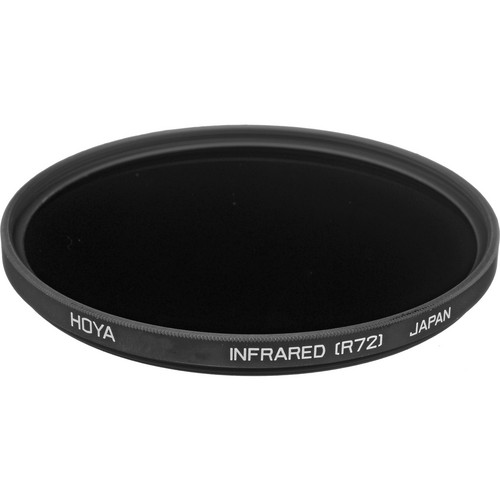
IR Filter
The Hoya R72 Infrared Filter is most probably the most used and best choice for starting out:
https://www.bhphotovideo.com/c/product/116763-REG/Hoya_B46RM72_46mm_RM72_Infrared_Glass.html
Electromagnetic spectrum